Skirting boards tie a room together, protecting walls from scuffs while providing a polished transition between floor and wall
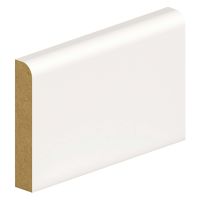
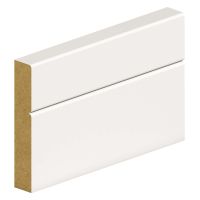
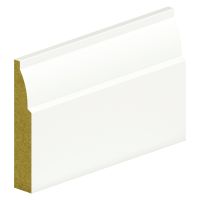
Your choice of material—MDF or solid timber—depends on budget, moisture exposure, and aesthetic preference. MDF offers a flawless, paint-ready surface at a lower cost, but solid softwood or hardwood delivers natural grain and the option to stain or re-sand later.
Step-by-Step Installation:
-
Measure & Mark: Record each wall length and note corner types (internal vs. external). Label boards on the back to avoid confusion.
-
Cut Mitres: Use a sharp mitre saw with a fine-tooth blade. For internal corners (90° inside), cut both boards at 45° toward the corner; reverse the angle for external corners.
-
Dry-Fit & Adjust: Always test-fit before gluing—small gaps can be filled with flexible caulk later.
-
Fixing Method: On plasterboard, run a bead of polyurethane construction adhesive along the back of the skirting, then secure with 30 mm finishing nails into wall studs. On masonry, pre-drill, insert plastic wall plugs, and countersink screws.
-
Finishing Touches: Fill nail/screw holes with paintable wood filler, sand flush, then apply a thin acrylic sealant bead along the top edge for a crisp, gap-free line.
With accurate measuring, clean cuts, and the right fixings, your new skirting will look custom-made and last for decades.